
- Description
- Global Tab
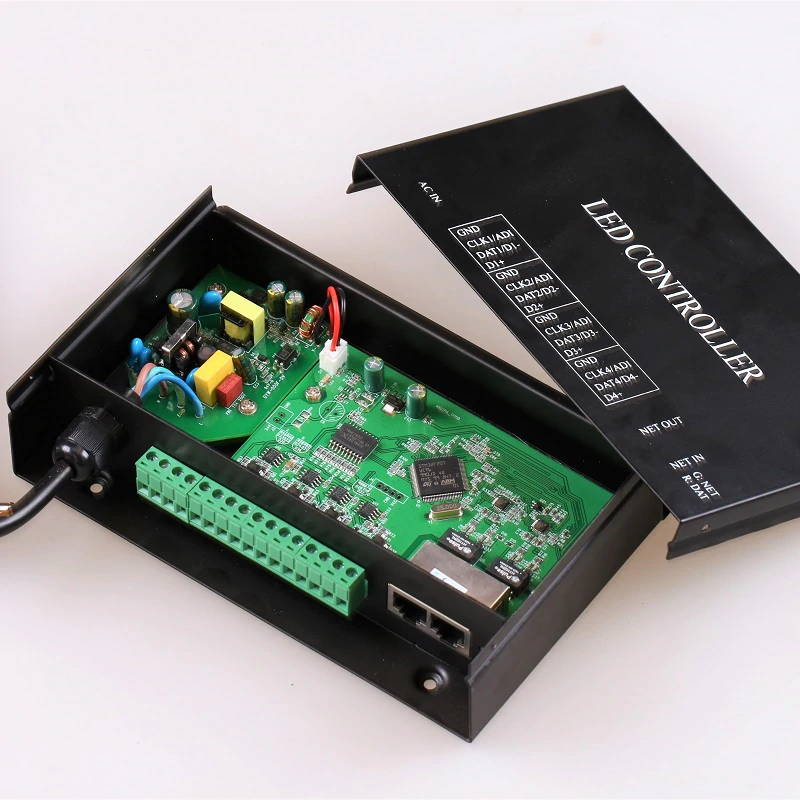
Art-Net protocol led controller H801RS with 8 ports ,suppport dmx512 console with sd card
H 8 0 1 R S user manual
http://www.rose-lighting.com/wp-content/uploads/sites/53/2021/12/H801RS_EN1.pdf
Update date date: 2019-10-10
Ⅰ. Introduction
H801RS has eight outputs, supports maximum 8192 pixels, it Support Art-Net protocol and can work with DMX console or set address for DMX chips .H801RS also can add or delete DAT files through the LAN.
Ⅱ. Features
- Eightoutput ports, controls maximum 8192 pixels, each port controls maximum 1024
- SD card supports FAT32, FAT16 format; maximum capacity is 64G bytes, stores up to64 DAT files.
- It can Synchronization control by LAN. It can switch files by sending UDP instructions to Network Port 2, or get the serial number of the playing files.
- H801RScan be connected to DMX console, replace file, and adjust speed and brightness and responses quickly
- It supports ART-NET protocol and can directly use ART -NET software such as MADRIX and JINX.
- Supporting Encryption Function of Restricting Power-on Number and DAT File Encryption
- Support set DMX address for DMX chips.
- Support online firmware upgrade.
Ⅲ. Instructions
1.SD card must be formatted into FAT32 or FAT16 after times of deleting or adding files. Supports SDHC (high capacity SD card), the maximum capacity is 64G bytes, stores up to 64 DAT files, which are played based on the file name in alphabetic order.
- 2.Eightoutput ports, controls maximum 8192 Each port controls maximum 1024 pixels.
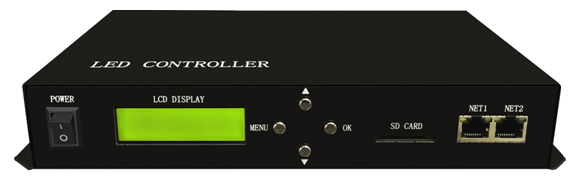
- 3. When power on, LCD first line shows the model of the controller, the second line shows the version number, press the “MENU” key and then power on, the controller automatically upgrades the firmware.
- 4. Three buttons are “MENU”, “OK”, “-”and “+”. Press “MENU” to switchmode, press “-” or “+” to set. Press “OK” to save parameters or enter submenu
(1) File X:
X is sequence number and refers to the playing DAT file name. Press “+” to next file, press “-” to previous file.
(2) Speed:
Play speed ranges from 1 to 100 frames per second
(3) Bright:
Brightness range is 0—15.
(4) Cycle Mode:
“All” refers to playing all DAT files in SD card circularly; “Single” refers to playing the current file and can be switched by “+” or “-”
(5) Network Port 2 Working Mode:
Usually we choose Net2 Input. When synchronizing in LAN, one of them must be set to “Net2 Send Sync” and the other to “Net2 Input”.
(6) Ip setting:
The first three bytes are adaptive. The same IP address cannot be found in the same LAN.
(7) IC Type:
If don’t choose IC Type, it is controlled by the IC type specified in the DAT file.
If choose IC Type, the IC type in the DAT file is invalid
(8) Port Output Mode:
Port output mode, 245 or 485. Press ”+”,”-”to choose ,press “OK” to save.TTL ic ,usually select 245, DMX512 ic select 485.
(9) DMX Address:
The range is 1-512. Each controller occupies seven channels. Press ”OK” to save. First channel is brightness, Second channel is red, Third channel is green, Fourth channel is blue, Fifth channel is files, Sixth channel is speed, seventh channel is Direction, 0-3 is positive, other values are reverse.
(10) The tenth menu is the folding menu. Press “▲”,” ▼” to select the submenu, press OK to enter the submenu, and then press MENU to switch the submenu.
- DMX Addressing menu :
Press “ok” enter addressing menu, Set the number of color components of one pixel, default is 3, that is RGB. The range is 1-4. Press “ok” to save and then press ”MENU” enter next step.
Choose your DMX IC type. Press “ok” to save, “MENU” to enter next step.
The number of light channels, set the number of channels occupied by a lamp or transcoder board. If it is a point light source, this value is the same as the number of color components.
Start DMX address, Press OK after entering the starting channel. Please wait a few seconds for coding to complete.
Press the “MENU” key to return to the main menu.
- ART-NET setting:
Start univers setting
Set how many channels with each port
Set up the Art-net controller, how many controllers are used
- Count Pixel control
Pixel channel, set the number of pixel channel, default to 3, that is RGB. The range is 1-4.
Start at First pixel ,press“▲”,” ▼” to add pixels.
Controller Internal Control
- Other setting
Sub control number, When a router or switch is used to form a multi-branch network, a branch control number should be set. When the number is 1, please choose automatic. If on-line and connected to the computer in the same LAN, it must be set to automatic.
Insert W, control RGBW LED strip by inserting W into RGB format.
Restore default settings
- 5.Set the password. In the light modelling window of “LED Programming Software”, click the menu “Setting” – – “Controller password”, pop up the encryption dialog box, and select the controller encryption. The encryption method is to limit the number of power-on. After the first encryption, the second encryption can be performed without decryption to prolong the usage.
Ⅳ. LAN Synchronization
- Several H801RS make up a LAN through routers and switches. Pay attention to the IP address set in the same network segment. (Controllers that support this function can also be synchronized by mixing different models, only one send is needed, but the number of DAT files and the number of frames per DAT file must be the same).
- One H801RS is set to “send synchronization in network port 2” and the other H801RS is set to “input in network port 2”, which can be synchronized when offline.
- Connecting the computer to this LAN can realize detachable control.
- Programmers who understand UDP can switch files through UDP protocol. The port is 0x2018, sending: 0xA8, 0x20, file three byte contents, file is program serial number, starting from 0. Send: 0xA8, 0x30
Two bytes can get the serial number of the current playing file: 0xA8, 0x31, file.
Ⅴ. Add or delete DAT files
- Connect H801RS to a computer or to the same router. Note that the IP address of H801RS does not conflict with other devices in the LAN.
- Open <LED BUILD> click “Tool” ——“send files”,Software Auto Search Controller, Display File Name in SD Card, Select a File, Click Delete to Delete the File
- Click Send DAT File, pop up the dialog box, select the DAT file you want to add, click Open, the progress bar shows the progress of sending, prompts the successful sending after completion, and click OK to refresh the list of files just sent.
Ⅵ. Controller upgrade
First connect H801RS to the Internet, hold down the “MENU” key and then power on. The controller will be upgraded automatically. After the upgrade is completed, it will be restarted automatically, and the version number will be changed.
VII. Interface Definition
| GND CLK1 DAT1 | GND CLK2 DAT2 | GND CLK3 DAT3 | GND CLK4 DAT4 | GND CLK5 DAT5 | GND CLK6 DAT6 | GND CLK7 DAT7 | GND CLK8 DAT8 |
| GND D-1 D+1 | GND D-2 D+2 | GND D-3 D+3 | GND D-4 D+4 | GND D-5 D+5 | GND D-6 D+6 | GND D-7 D+7 | GND D-8 D+8 |
VIII. Specification
Input Voltage: DC24V
Power Consumption: 2W
Drive Pixels Number: 8192
Weight: 1.2KG
Size: L270 x W147 x H43
VIIII. Connection with LED strip
Connect with DMX led strip
Connect with SPI led strip
Artnet software: madrix ,sunlite ,free style ,Madrix nebula, jinx, resolume Arene
Related Products
 Read MoreQuick View
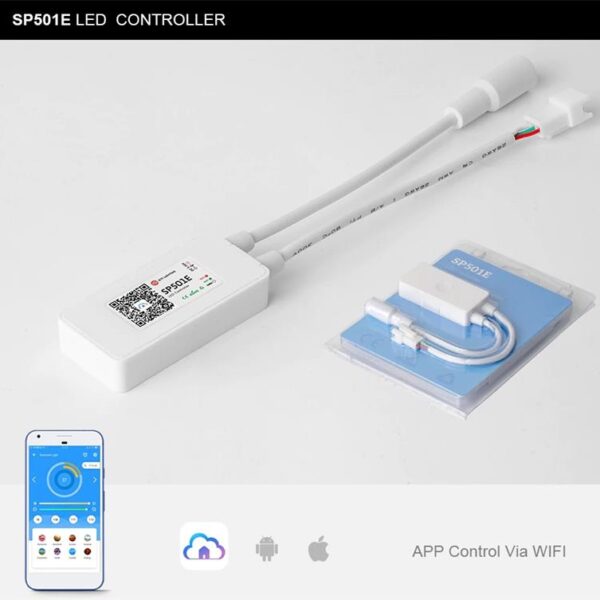
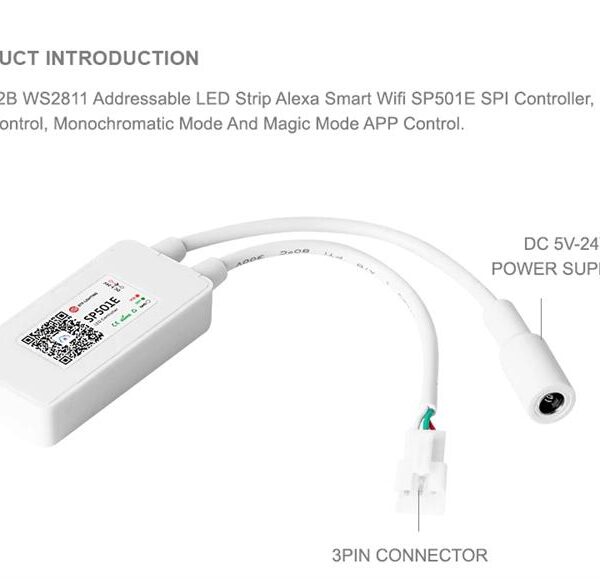
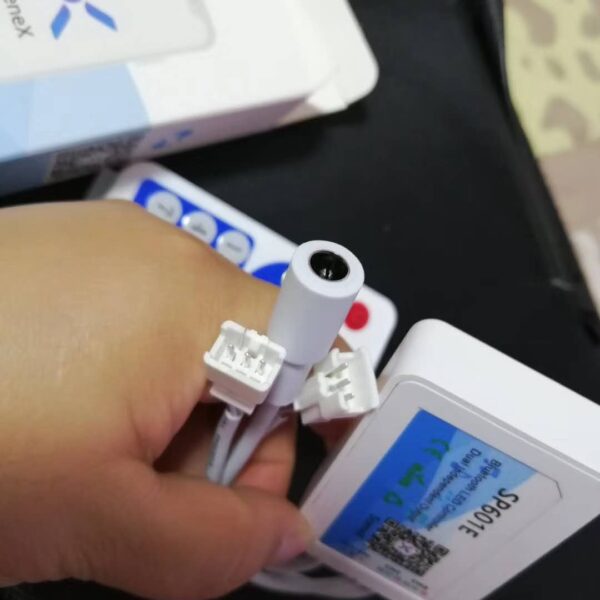
SP501E wifi smart speak led controller works with alexa and google home
Read MoreQuick View Read MoreQuick View
Stair sensor led controller
Read MoreQuick View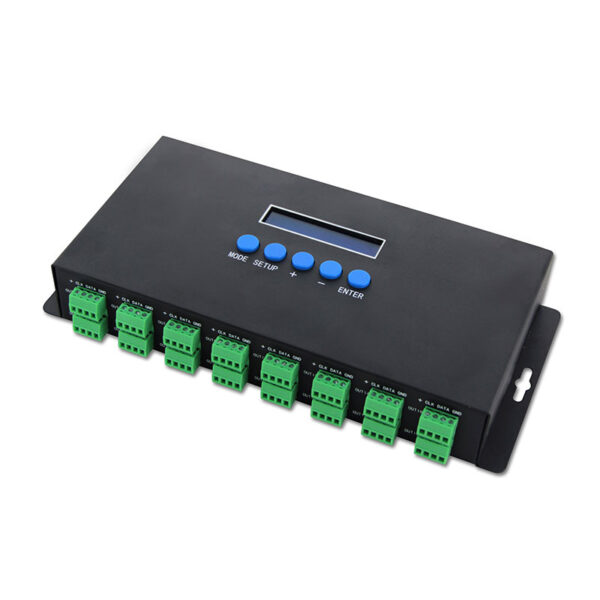 Read MoreQuick View
Ethernet-SPI/DMX Art net pixel light controller(BC-216)BC204
Ethernet-SPI/DMX pixel light controller(BC-216)
1. With LCD display and built-in WEB SERVER setting interface, easy operation.
2. Support Ethernet DMX protocol ArtNet, sACN(E1.31) (only V2 versions), can be expanded to other protocols.
3. Multi SPI (TTL) signal output, up to 5440 pixels control.
4. Output DMX512 signal at the same time, convenient for the connection of different types led lamp.
5. Support various LED driving IC, flexible control.
6. Support online firmware upgrade.
7. Adopt DIP plug-in design for the easily-worn parts, Users can repair the damage caused by wrong wiring or short circuit.
8. Built-in test mode, using a network interface with indicator light, work status is clear when at a glance.
Read MoreQuick View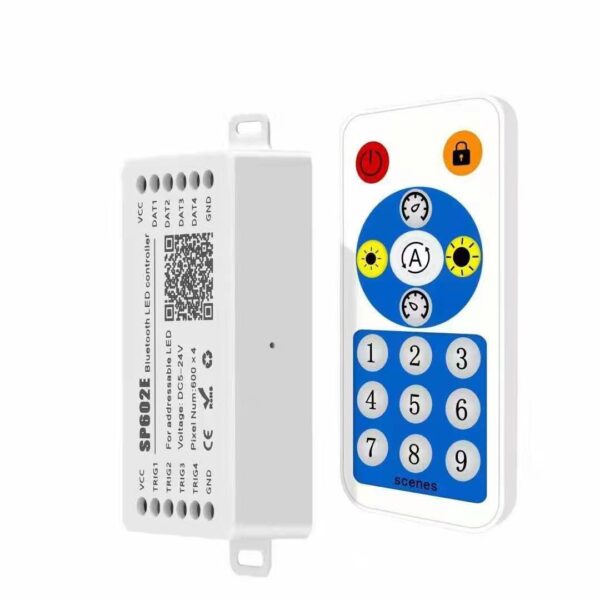 Read MoreQuick View
SP602E 4 CH Signal Output WS2812B Music Controller Built In Mic WS2811 WS2815 LED Light Strip Bluetooth App IOS Android DC5V-24V
Read MoreQuick View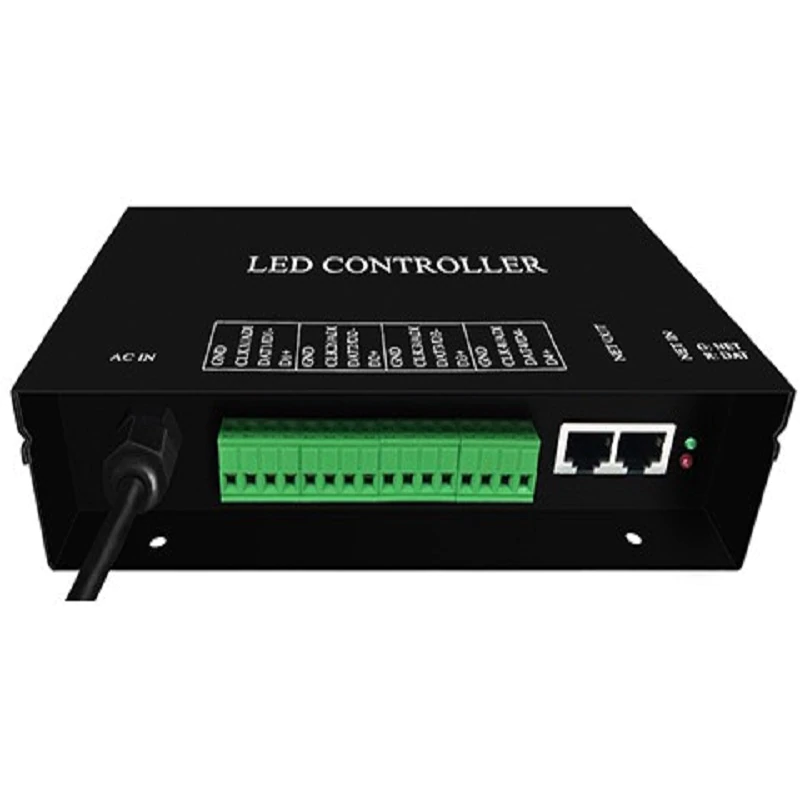
 Read MoreQuick View
H802RA Artnet WS2811 ws2812b WS2801 Led Decoder Led Strip Light Madrix Pixel Controller DMX Artnet Controller
Read MoreQuick View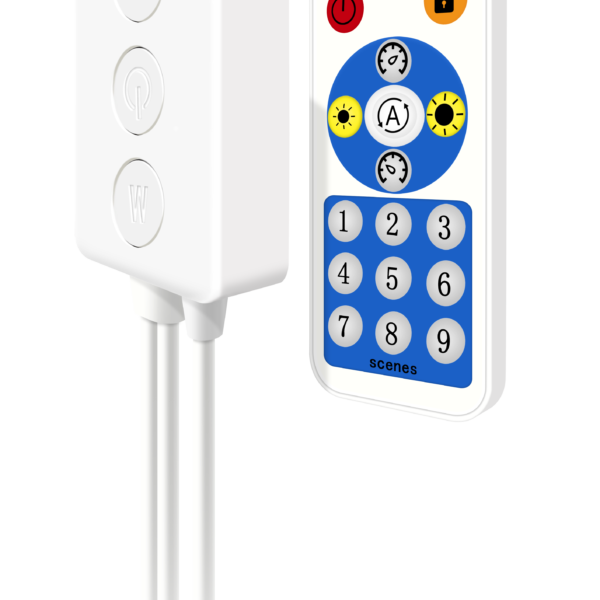
 Read MoreQuick View
SP601E DC5-24V Music Bluetooth LED Controller Dual Output Channels Individually Control Works with 16 Keys RF Remote for Addressable LED Strips – Upgraded Version of SP107E
Read MoreQuick View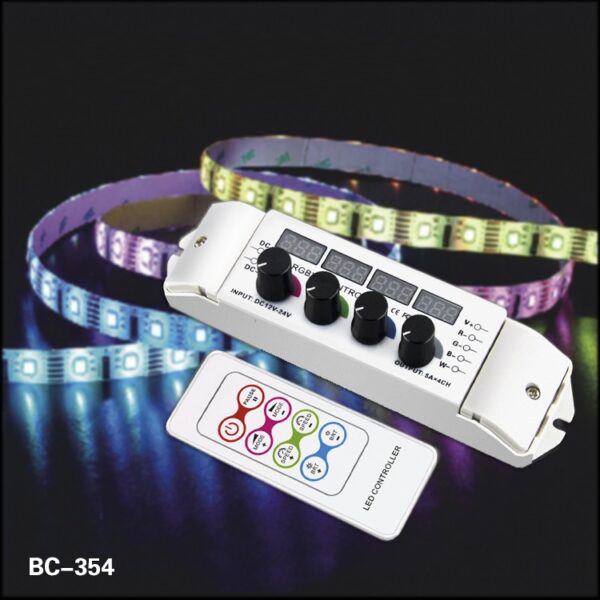
 Read MoreQuick View
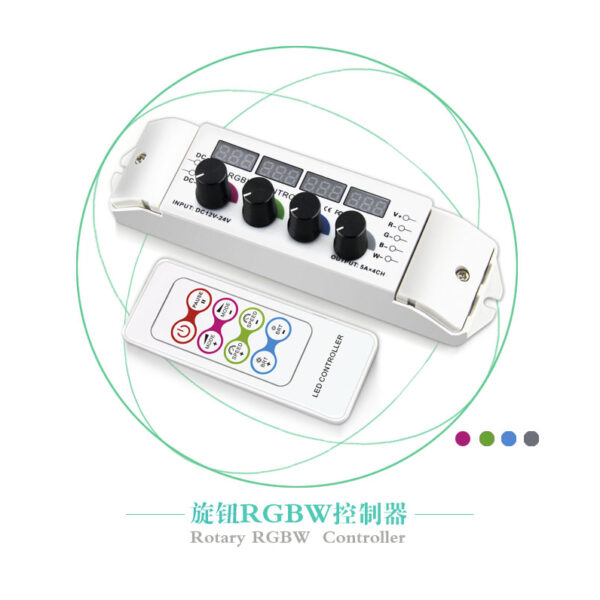
DIY RGBW controller with RF remote BC354
Read MoreQuick View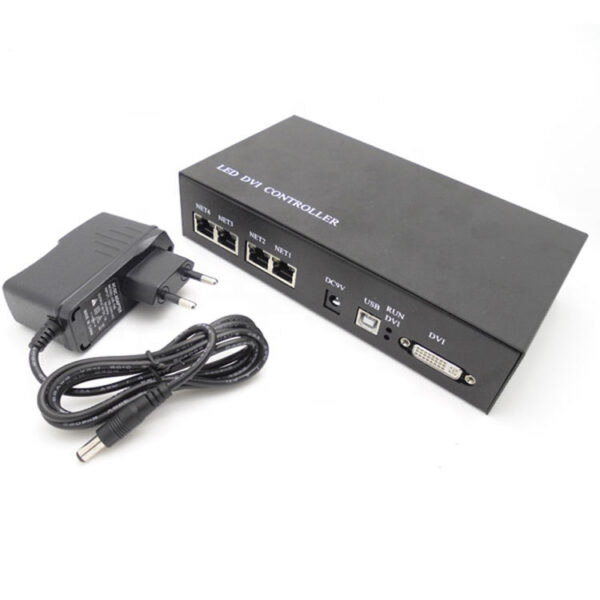
 Read MoreQuick View
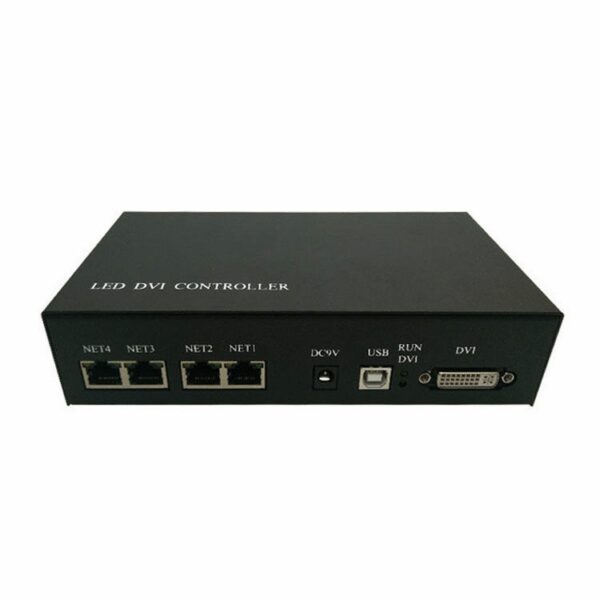
LED DVI controller H803TV LED Master Controller Support 400000 Pixel DMX /SPI LIVE Transmission controller computer or DVI to LED Display
Read MoreQuick View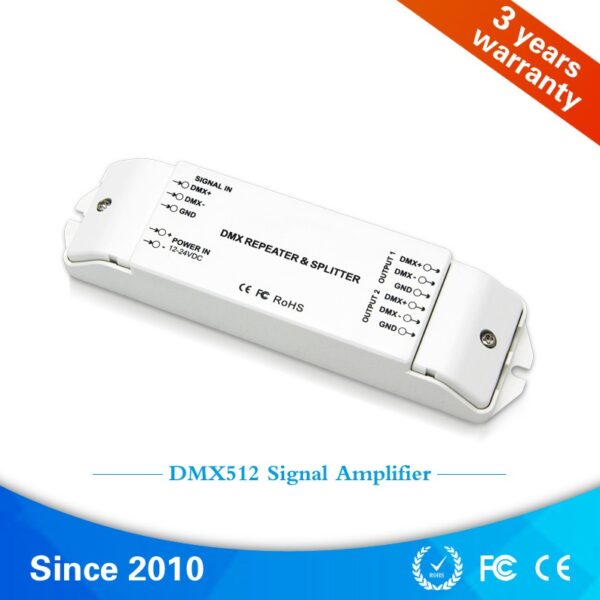
 Read MoreQuick View
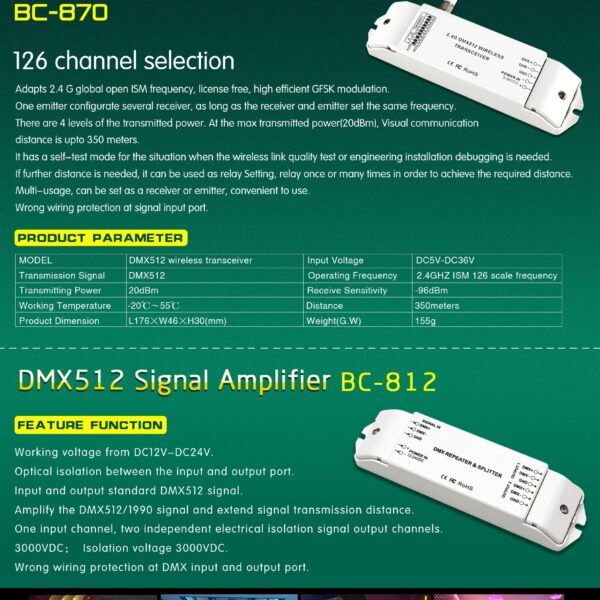
DMX512 Signal Amplifier BC812
Read MoreQuick View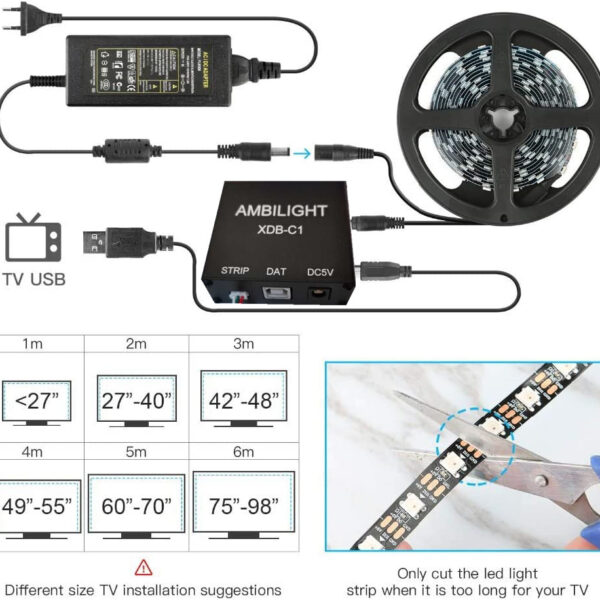
 Read MoreQuick View
Ambilight-Kit USB LED Strip Light 5050 RGB Dream Color sk6812/ws2812b Strip for Desktop PC Screen Backlight Lighting 1M 2M 3M 4M 5M
Read MoreQuick View